
2.2 Configuring Your Device
Start the EasySense2 app.
Initially the Home screen may be displayed, but simply accept an option to access Devices:
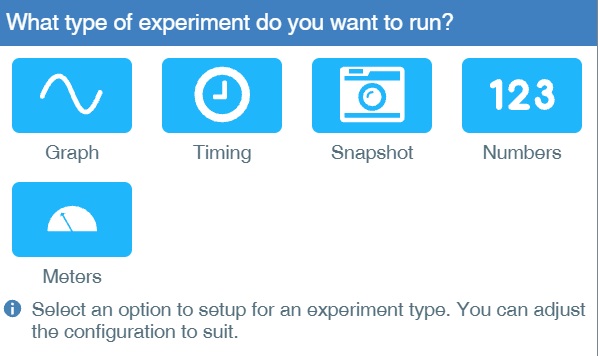


USB: The Devices icon will automatically turn from red (no interface detected) to green with the interface detected and its sensors illustrated below. Internal sensors are off by default: to switch on or change the range of the sensors select the Devices icon.
Note: New Lab Setup is also available from the File menu.
The Devices Setup
USB
For USB Users, the data logger will be automatically connected.
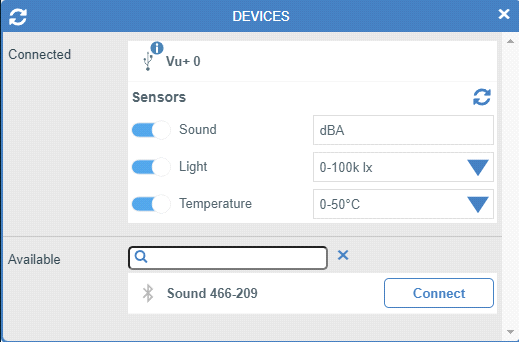
Connected: USB and info icons. In this case a Vu+ is a connected device.
Sensors: Slide switch: grey indicates the sensor is Off (so no readings will be taken from this sensor). Tap or click to switch On. To change the range of the sensor, tap or click the down arrow and select from the list on the right.
Connect: Tap or click to connect another data logger or Wireless Smart Sensor.
X = confirm choices and conclude
Bluetooth or Wi-Fi users: Select the Devices icon (initially displayed red).
Select the device from the list of those available:
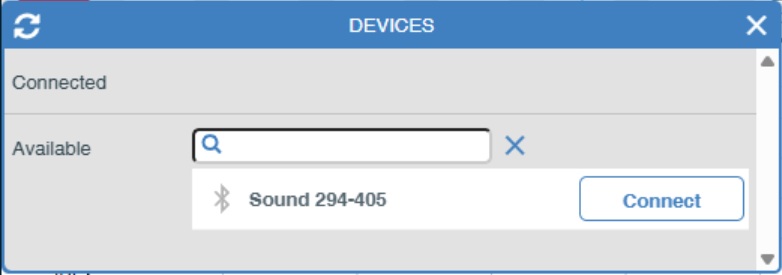
Tap or click the “X” to accept and close. Select Connect to connect to the sensor.
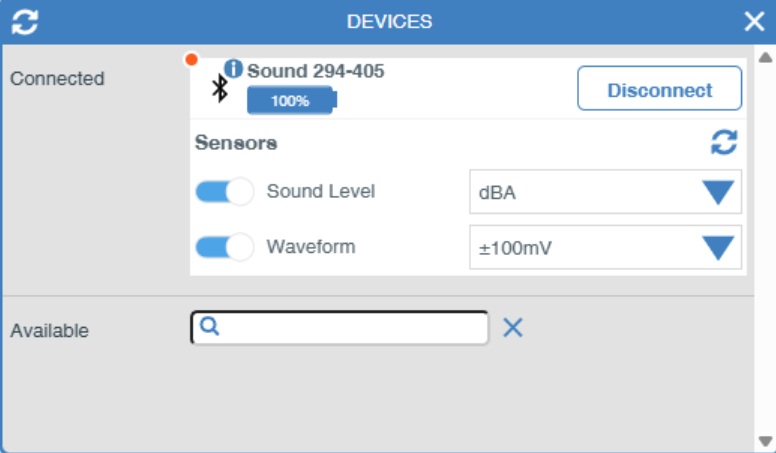
Internal sensors are off by default, tap or click the slide switch to switch them on. To change the range of the sensor, tap or click the down arrow and select from the list. Tap or click here to connect another data logger or wireless sensor or shared installation as available.